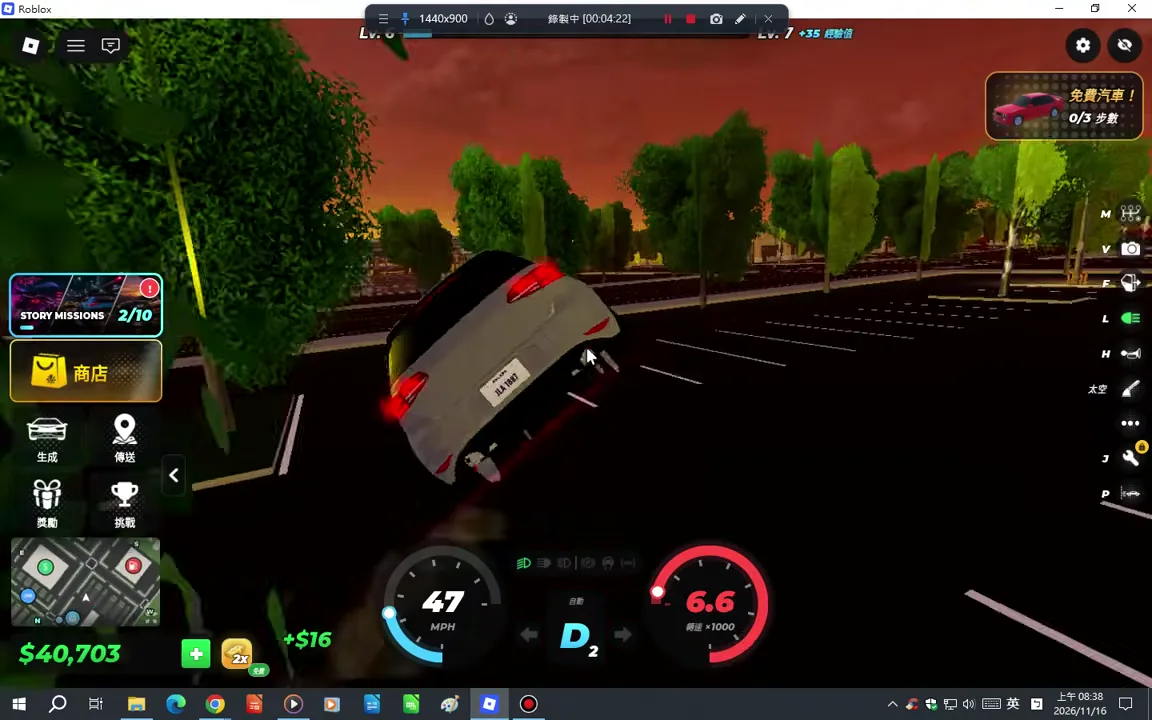
Driving Controls, Near-Miss Chains, and Nametag Scores
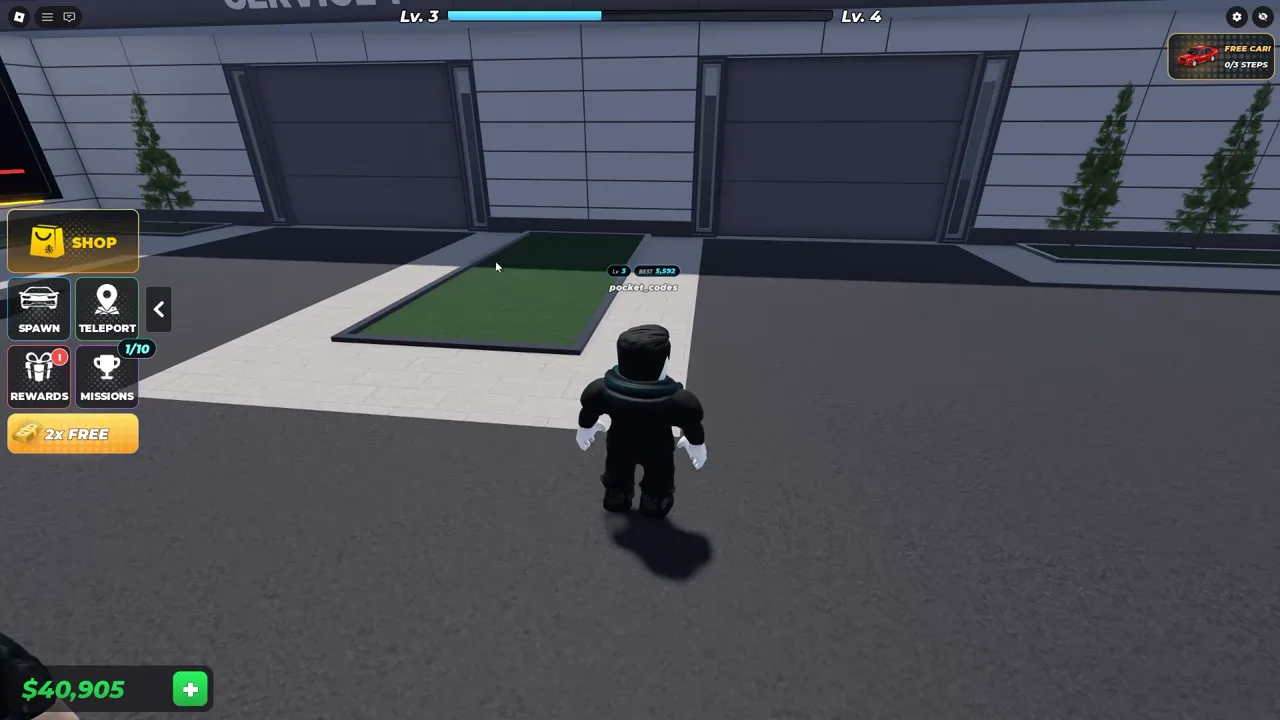
You begin near the starting plaza garages and car dealership before merging onto city junctions and the open highway. Passing close to traffic builds a near-miss score chain that resets upon any physical contact, with your top chain recorded as the best run on your overhead nametag.
Leaving the Starting Plaza and Reading the HUD
Sessions start at the plaza area housing the garages and the car dealership. From this hub, connecting roads lead out through city junctions onto multi-lane highway stretches.
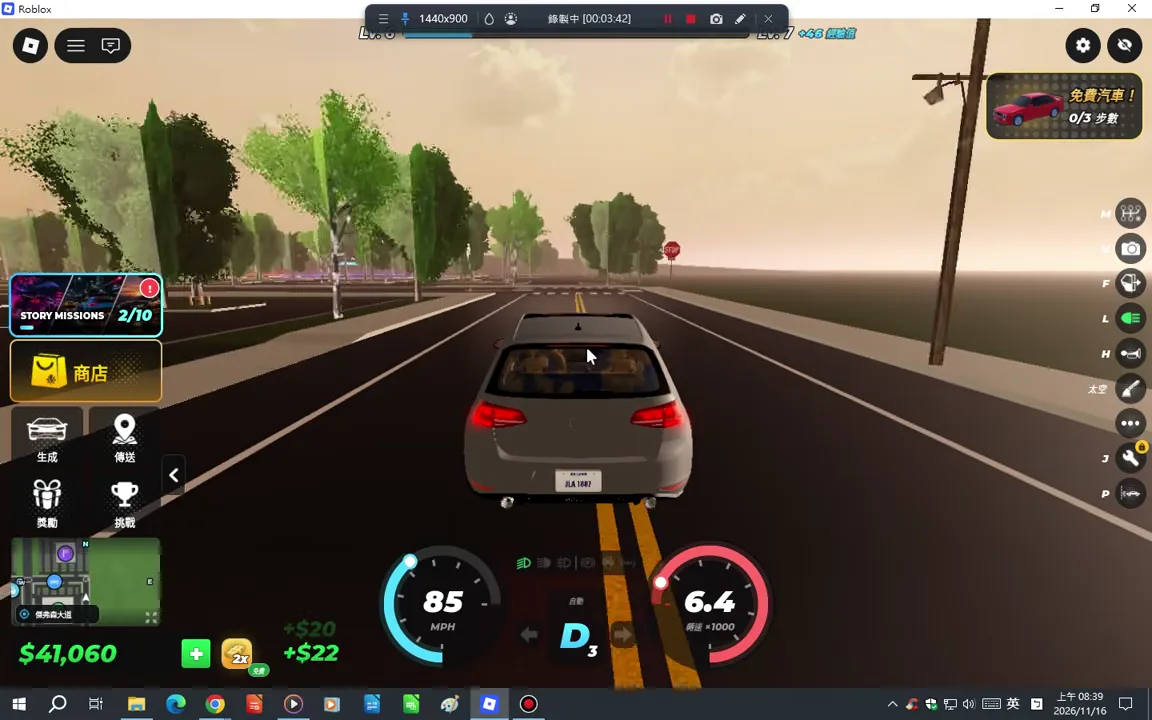
The lower dashboard shows your speed and gear. Glance at it on the straight and look ahead again before the next junction.
Building Near-Miss Score Chains
Scoring during open highway runs relies on near misses against civilian traffic. Threading close past other vehicles starts and extends an active score chain, while your all-time peak run is displayed publicly on your player nametag.
- Look far ahead down the highway lanes before committing to a high-speed pass.
- Choose traffic gaps that offer a clear exit lane on the far side so you are not boxed in by slower vehicles.
- Complete a short, clean test run and check your nametag afterward to verify how your new best run compares to your previous peak.
Handling Collisions and Resetting Your Line
One touch ends your near-miss chain. If the gap closes before you reach it, take the clear lane and set up your next pass.
When a tap breaks your chain or a congested city junction forces you to slow down, focus on regaining straight-line stability first. Align your car with an open highway lane, let the lower HUD speed climb back up in a clear corridor, and begin a fresh near-miss sequence once your sightlines open up.